
You're probably sick and tired of hearing about my son's gallery wall I've been attempting to put together. But I think I'm finally making some headway. I'll share as soon as it's complete, but here's what I just finished to add to the wall.


My in-law's bought some really cute wooden signs at Swiss Days this year, and they looked so simple to make. I've been wanting to make something like this for a long time, so I was glad for the inspiration to finally do it.
My father-in-law has a big wood pile in his field, so whenever I need some good, old barn wood I head to that pile. I found some pieces and had my husband cut them for me. Each plank is approximately 4" x 16". Then, he attached a few small wood strips on the back to connect the planks. Click here for a video clip from Studio 5 (a local lifestyle show here in Utah) that uses the same method I did to attach my planks.
I used my Cricut to cut out my lettering in vinyl (like my shiny red vinyl? I'm not even sure why I bought this, but it came in handy for this project). I used the Classic Font Cartridge for the letters.


LETTERING
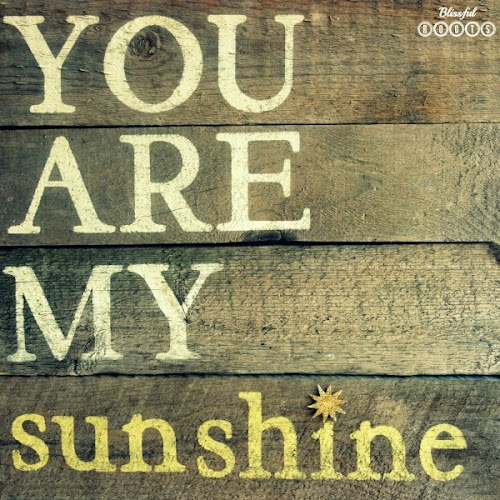
YOU ARE MY (3" capital letters with cream paint)
sunshine (2" lowercase letters with yellow paint)
Just like I stated with my Bug Jar Caddy, I've learned to use as little paint as possible on my brush when using the vinyl as a stencil on wood, and just dab the paint on. I don't use any brushing motions at all. You probably have your own method, so do whatever works best for you. This is what I've found helpful. I also peel off my vinyl immediately after I've painted. I don't let it dry first.
The little sunshine I used for the dot on my 'i' came from PicMonkey. I found it in Overlays. It was actually in the Stars category, but it looks like a sun to me. I printed it out in yellow, cut it out, and then used Mod Podge to adhere the gold glitter.
The little sunshine I used for the dot on my 'i' came from PicMonkey. I found it in Overlays. It was actually in the Stars category, but it looks like a sun to me. I printed it out in yellow, cut it out, and then used Mod Podge to adhere the gold glitter.

Thanks so much for stopping by! I hope you found a little something worth your time.
Linking up to these parties & Savvy Southern Style.


